
Keep the dimensions when possible
The tool first tries to keep the original dimensions and reduce the file through JPG compression. This helps the image stay the same size on screen.
Quick answer: Use this free online image compressor to reduce image size in KB. Choose a target file size such as 100 KB, 200 KB, 500 KB, or 1 MB, and the tool creates a smaller JPG under your limit.
Need to compress an image for a website, form, email, or app? Upload it here, choose the maximum file size, and download a smaller JPG. This image compression tool works in your browser, so your image is not sent to a server.
The tool starts at 200 KB and finds a clear compressed result automatically. If the result is too soft or still too large, adjust Image quality or Image dimensions.
Pick the situation that matches your need. Use the suggested target, then check the actual file size below the preview.
Some registration and upload forms reject an image that is larger than the allowed file size. Choose the same limit in this tool, then check the result before uploading it.
Application portals often require a profile photo, scanned document, or ID image to stay below a file-size limit. Use a larger target when faces, names, or document details must stay clear.
Large photos take longer to attach, send, and download. Make a smaller copy before sending it when the original resolution is not necessary.
A smaller image uses less data and is usually faster to upload or download on a slow or unstable connection. This is useful for quick previews and casual sharing.
Screenshots can become large when they contain browser controls, long pages, or dense interface text. Reduce the attachment before sending a support ticket or bug report.
Marketplace websites may limit the size of product photos. Reduce the file while keeping the product shape, color, and important details clear.
This page makes a file smaller. Use one of these tools when you want to change how the image looks instead.
Start with a target size and let the tool do the work. These controls are useful only when you want to fine-tune the result.
| Concept | What it means | Best for | Main controls |
|---|---|---|---|
| Target file size | The maximum size you want the downloaded image to be, such as 200 KB. The tool tries to stay under this number. | Upload forms, email attachments, and website limits | Target file size |
| JPEG compression | Keeps the same general dimensions but removes some detail so the JPG uses fewer bytes. Higher quality usually looks clearer but creates a larger file. | Making a file smaller without changing its displayed size too much | Image quality |
| Image dimensions | Makes the downloaded picture physically smaller. This can reduce file size quickly, but the image will also have fewer pixels. | When the image is still too large after compression | Image dimensions |
Choose the smallest target that still gives you the clarity you need. The exact result depends on the image, so always check the file size shown below the preview.
| Target | Starting settings | Use when | Note |
|---|---|---|---|
| Small upload | Target 200-500 KB; quality 55-82; scale 80-100% | When the image should be lighter to upload but still look clean. | Use the automatic fit first and raise the target if details soften. |
| Strict file limit | Target 50-200 KB; quality 30-60; scale 55-85% | When the main target is a specific file-size cap. | Check the actual result size because every image compresses differently. |
| Fast sharing copy | Target 25-100 KB; quality 25-55; scale 45-75% | When a smaller file matters more than full resolution. | Lower dimensions before pushing quality to the lowest setting. |
| Readable screenshot | Target 100-500 KB; quality 45-75; scale 80-100% | When text or interface details still need to stay understandable. | Use a larger target when letters show visible compression artifacts. |
Follow these steps when a website, form, or app gives you a file-size limit.
The automatic result is a good starting point. Higher quality keeps more detail; smaller dimensions make the file smaller faster.
| Goal | Target size | JPEG quality | Output scale | Use when |
|---|---|---|---|---|
| Small upload | 200-500 KB | 55-82 | 80-100% | When the image should be lighter to upload while staying clear. |
| Strict file limit | 50-200 KB | 30-60 | 55-85% | When an upload form rejects files above a fixed maximum. |
| Fast sharing copy | 25-100 KB | 25-55 | 45-75% | When a smaller file matters more than full resolution. |
| Readable screenshot | 100-500 KB | 45-75 | 80-100% | When interface text and labels still need to be understood. |
Most images work well with the automatic setting. Use these tips when the result is not clear or small enough.
The tool first tries to keep the original dimensions and reduce the file through JPG compression. This helps the image stay the same size on screen.
If faces, text, or product details look soft, increase the target from 100 KB to 200 KB or 500 KB. More bytes usually means more detail.
Raise Image quality when the result looks damaged. Lower Image dimensions when the result looks clear but the file is still too large.
Two images with the same dimensions can have different file sizes. Always use the displayed result size when a form has a strict limit.
Move the slider to compare the original image with a smaller JPG copy.
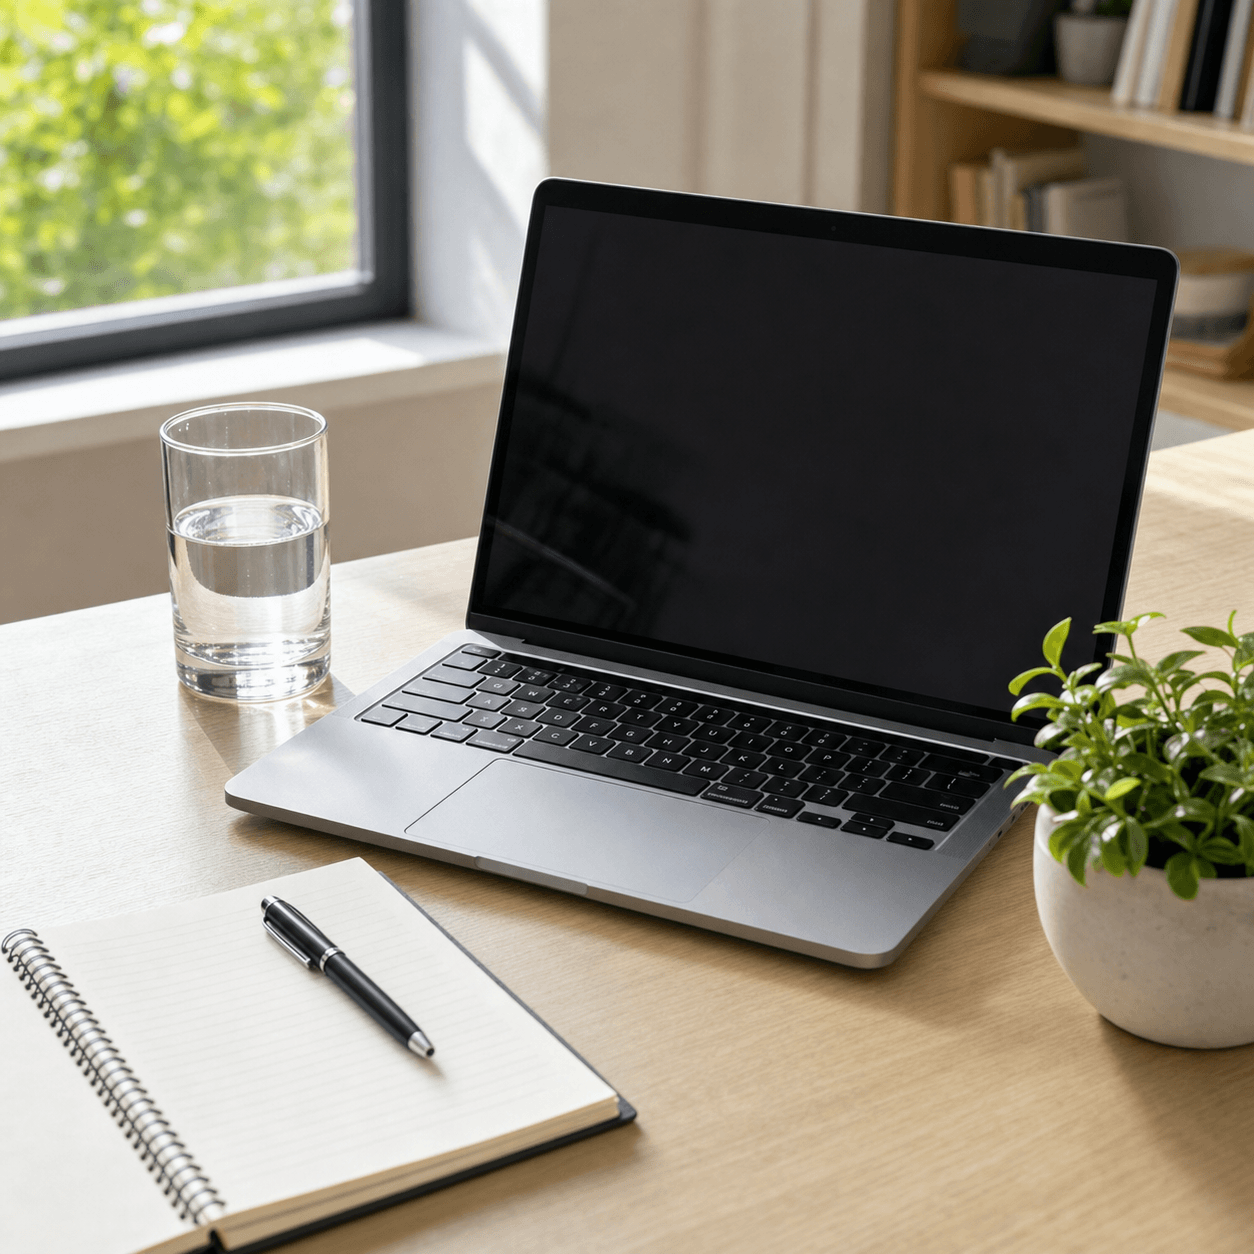
 Clean photoReduced KB result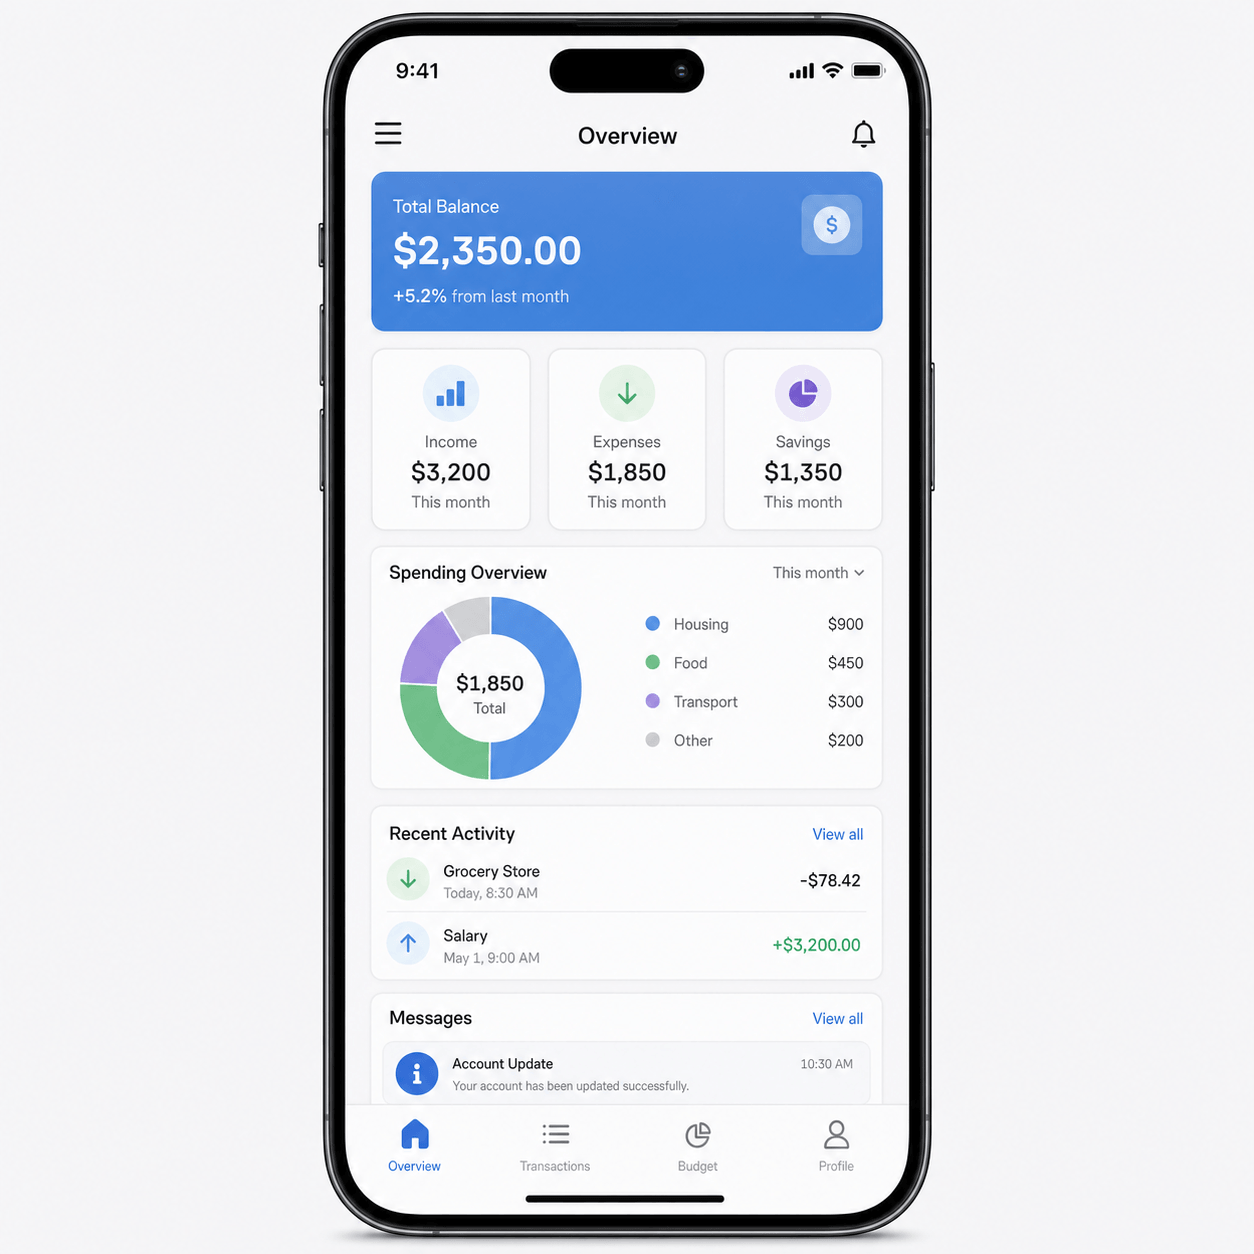
 Sharp screenshotSmaller KB copy
 Clean avatarCompressed avatar
These answers explain what the tool does and which setting to use.
Enter the target KB value and let the tool compress the image into a JPG under that limit. Adjust image quality or dimensions manually when the result needs a different clarity and size balance.
Image quality controls how much detail the JPG keeps. Image dimensions control the physical width and height of the downloaded picture. Lower dimensions usually reduce the file size faster.
Yes. The image is processed locally in your browser. It is used to create the compressed preview and download, and is not sent to a server by this tool.
Use the limit given by the website or form. Common targets are 100 KB for a strict upload, 200 KB for a general upload, 500 KB for a clearer photo, and 1 MB for larger images.
Usually, because fewer bytes mean less image information. A larger target keeps more detail, while lower dimensions can make the picture physically smaller.
Yes. Upload a PNG, JPG, or WebP. The downloaded result is a JPG, which is widely accepted by upload forms and usually smaller for photos.