Bad Quality Image Maker

Image Degrader

Quick answer: The tool on this page starts from a crunchy degradation preset, which makes changes easy to see before you dial settings up or down for your specific image.

Image settings
Sample loaded. Your image stays in the browser.
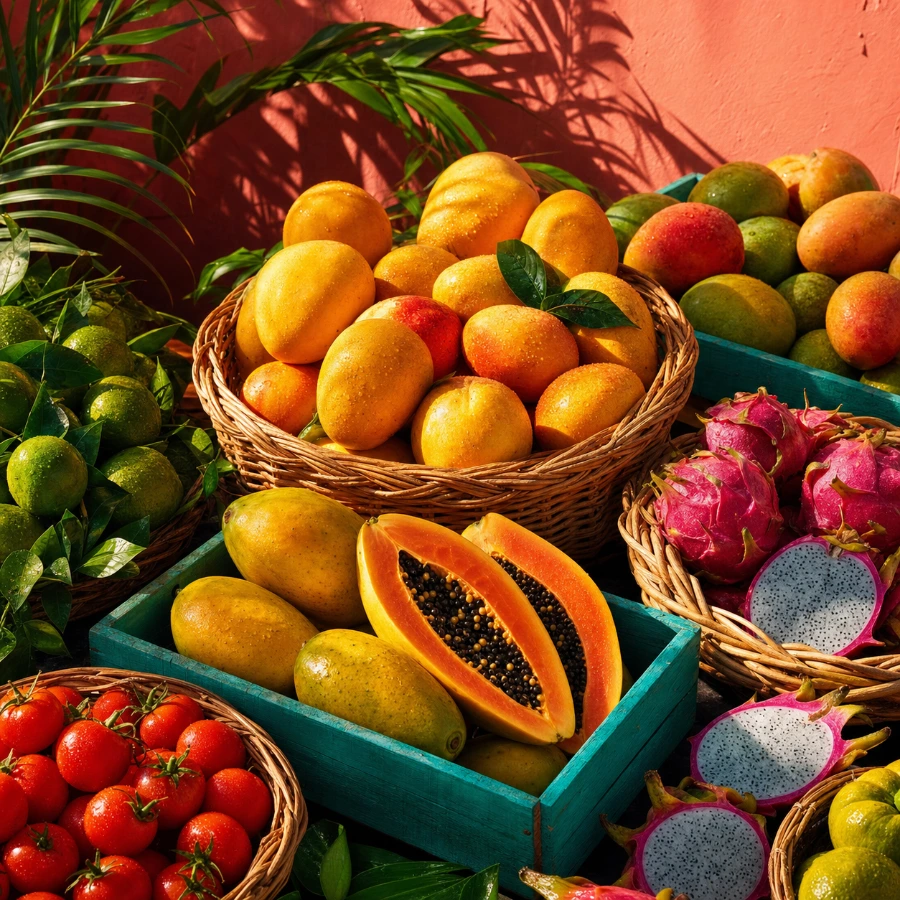
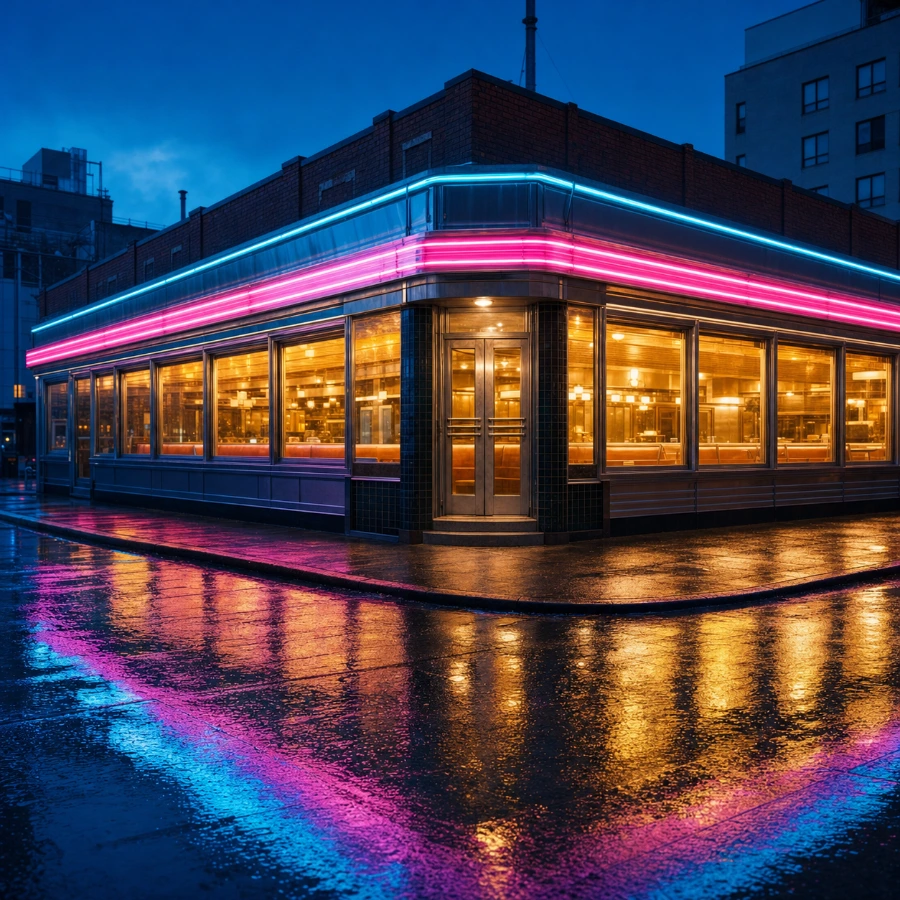
Originalsample image
SizeSample
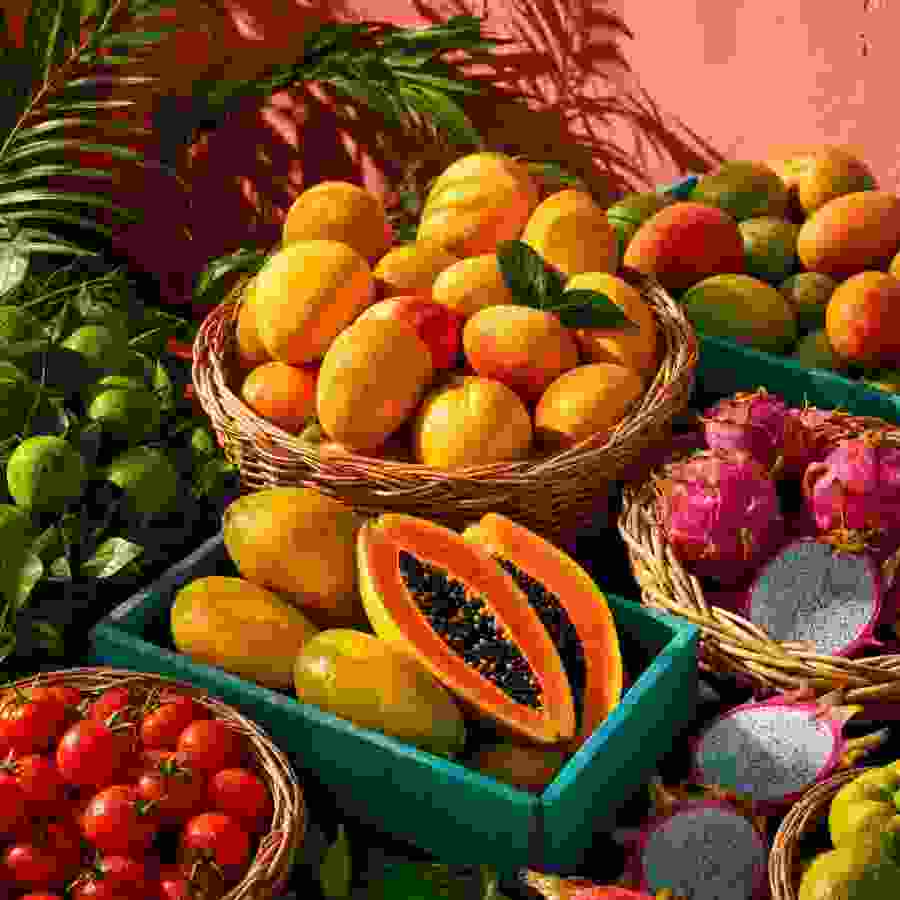
Resultcrunchy
SizeCalculating...

Use this image degrader when you want precise control over how a picture breaks down. An image degrader, also called a pixel degrader, picture degrader, quality degrader, or image quality decreaser, lets you control JPEG compression, pixels, blur, color, and noise.

The tool on this page starts from a crunchy degradation preset, which makes changes easy to see before you dial settings up or down for your specific image.

  • Processed locally in your browser
  • PNG, JPG, and WebP input
  • Original and result file sizes shown
  • Processed result downloads as JPG

When to use this tool

Common situations where this tool helps.

  • Test how far an image can be degraded before details disappear.
  • Use a picture degrader workflow when you need a rougher image without changing tools.
  • Create a controlled bad-quality asset for design or QA examples.
  • Compare file-size changes across quality and noise settings.
  • Make a custom mix of blur, pixelation, compression, and color damage.

Choose the right image tool

Each tool below focuses on a different part of the image quality workflow.

How to use Image Degrader

Use these steps for a reliable result.

  1. Upload the image you want to test, then treat the page like an image quality degrader rather than a one-click compressor.
  2. Lower JPEG quality in stages and watch which parts of the image break first: gradients, text edges, faces, or flat color areas.
  3. Add pixelation when you want structural damage, or add blur when you want detail loss without large blocky squares.
  4. Use saturation, contrast, and noise only after the compression level is chosen, because color damage can change the perceived severity.
  5. Compare original KB and result KB after each change so the final degraded JPG matches both the visual target and the file-size target.

Image Degrader settings

Start from the embedded preset, then use these ranges to tune the result for a specific target.

GoalJPEG qualityPixel sizeBlurColorNoise
Controlled degradation24-423-80-2Saturation 90-14012-35
Crunchy texture10-226-120-1Contrast 150-21045-70
Blurred degradation32-501-44-8Saturation 80-1208-20
Pixel damage18-3412-240Contrast 100-15010-30

Image Degrader tuning notes

Use these notes to avoid results that are either too clean or too damaged for this specific effect.

Use one primary damage source

For controlled degradation, choose the main source of quality loss first. JPEG quality creates compression artifacts, pixel size creates blocky structure, and blur removes detail. Mixing all three heavily can make the result hard to diagnose.

Watch text and edges

Screenshots and interface images show degradation quickly around text, icons, and thin lines. If those edges disappear too fast, raise JPEG quality or reduce pixel size before changing color controls.

Separate quality from resolution

A resolution degrader mainly changes dimensions or pixel structure. This page can do that with Output scale and Pixel size, but it also controls JPEG quality, blur, color, and noise for a fuller image degradation test.

Noise can fight compression

Noise is useful for rough texture, but it can also increase file complexity. If you need a smaller degraded image, lower JPEG quality before increasing noise.

Image Degrader examples

These examples show common before and after directions for this effect.

Quality drop

Quality drop original imageHigh fidelity
Original492 KB
Quality drop degraded resultDamaged JPG
Result24 KB95% saved

Pixel damage

Pixel damage original imageSmooth edges
Original484 KB
Pixel damage degraded resultBlocky output
Result15 KB97% saved

Blur pass

Blur pass original imageDetailed image
Original514 KB
Blur pass degraded resultSoft degraded
Result20 KB96% saved

Image Degrader FAQ

Answers for this specific image-quality effect.

Which control degrades quality the most?

JPEG quality usually has the strongest overall effect. Pixel size changes the structure, blur softens detail, and noise adds a rough texture.

Can I use this as an image quality degrader instead of a compressor?

Yes. The goal is visible degradation, not clean optimization. Use the preview to choose the amount of damage you want.

What is a pixel degrader?

A pixel degrader makes an image look blocky by increasing pixel size. This page includes that control along with JPEG quality, blur, and noise, so you can degrade structure without hiding the subject.

Is this a picture degrader?

Yes. Picture degrader, image degrader, pixel degrader, and quality degrader all describe a tool that intentionally makes a picture look worse with compression, pixels, blur, color, or noise.

Why does noise sometimes increase file size?

Noise adds visual detail that JPEG compression may need more bytes to store. Lower the JPEG quality if file size matters.

Can I download the degraded image as JPG?

Yes. The tool downloads the processed result as a JPG using the current quality setting.

How is this image quality degrader different from resizing?

Resizing changes image dimensions. This image quality degrader changes visible quality by adjusting compression, pixelation, blur, color, contrast, and noise.

Which setting should I change if the degraded image is too large?

Lower JPEG quality first. If noise is high, reduce it slightly because noise can add detail that makes JPG compression less efficient.

Use these pages for adjacent bad-quality image styles.