
Keep the damage believable
This page works best when the image still feels like a real upload. If every slider is pushed high, the result moves away from make image low quality intent and starts looking like a meme filter.
Quick answer: The tool below starts from a mild bad-quality preset so you can upload a photo, compare the original and result, and download a lower-quality JPG without returning to the homepage.
Use this page when you want to lower the quality of an image without turning it into an extreme meme edit — also called reducing image quality, decreasing photo quality, or making a picture look softer. It is best for subtle compression, soft blur, small pixel blocks, and realistic repost-style degradation.
The tool below starts from a mild bad-quality preset so you can upload a photo, compare the original and result, and download a lower-quality JPG without returning to the homepage.
Want the main tool? Use the Low Quality Image Maker.
Common situations where this tool helps.
Use these steps for a reliable result.
Start from the embedded preset, then use these ranges to tune the result for a specific target.
| Goal | JPEG quality | Pixel size | Blur | Color | Noise |
|---|---|---|---|---|---|
| Soft low quality | 32-45 | 2-5 | 1-2 | Saturation 90-125 | 8-20 |
| Re-uploaded photo | 24-36 | 3-7 | 1 | Contrast 95-130 | 15-30 |
| Low quality screenshot | 28-42 | 2-6 | 0-1 | Saturation 80-110 | 10-22 |
| Old web image | 18-32 | 5-10 | 0-2 | Contrast 110-150 | 20-38 |
Use these notes to avoid results that are either too clean or too damaged for this specific effect.
This page works best when the image still feels like a real upload. If every slider is pushed high, the result moves away from make image low quality intent and starts looking like a meme filter.
For screenshots and product photos, keep blur and pixelation low enough that the main subject can still be understood. JPEG quality and light noise usually create the low quality image effect without hiding the content.
The visual result matters first, but the KB comparison is useful when you want a compressed copy. If the file is not smaller, reduce JPEG quality before adding more noise.
These examples show common before and after directions for this effect.
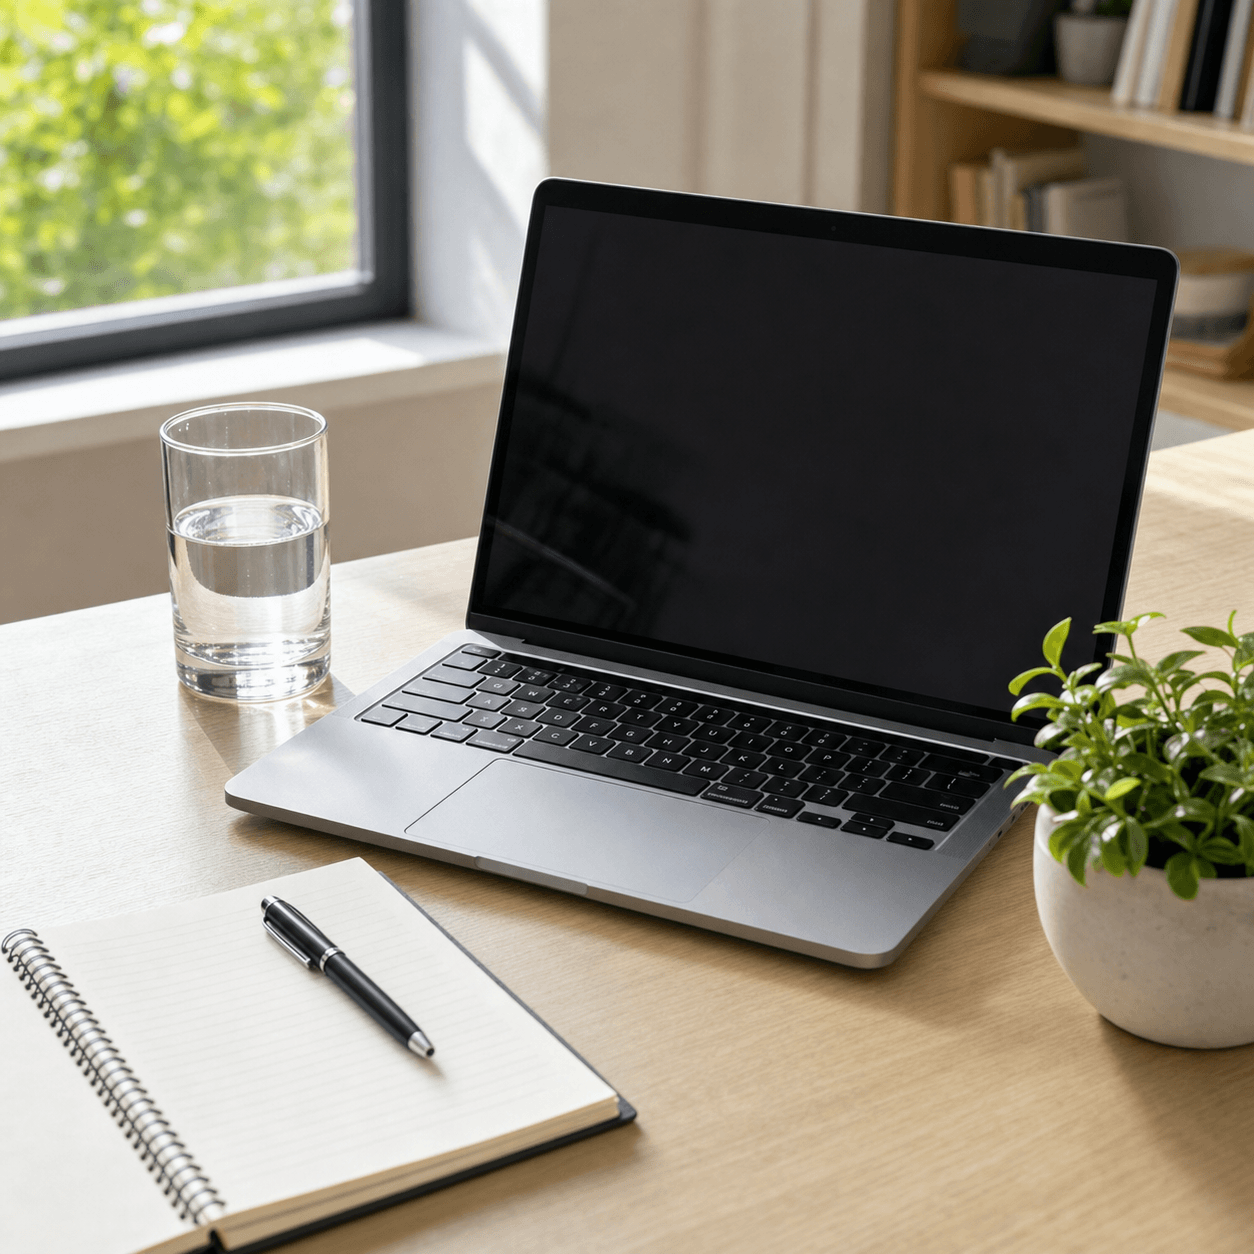 Sharp photo
 Re-uploaded look
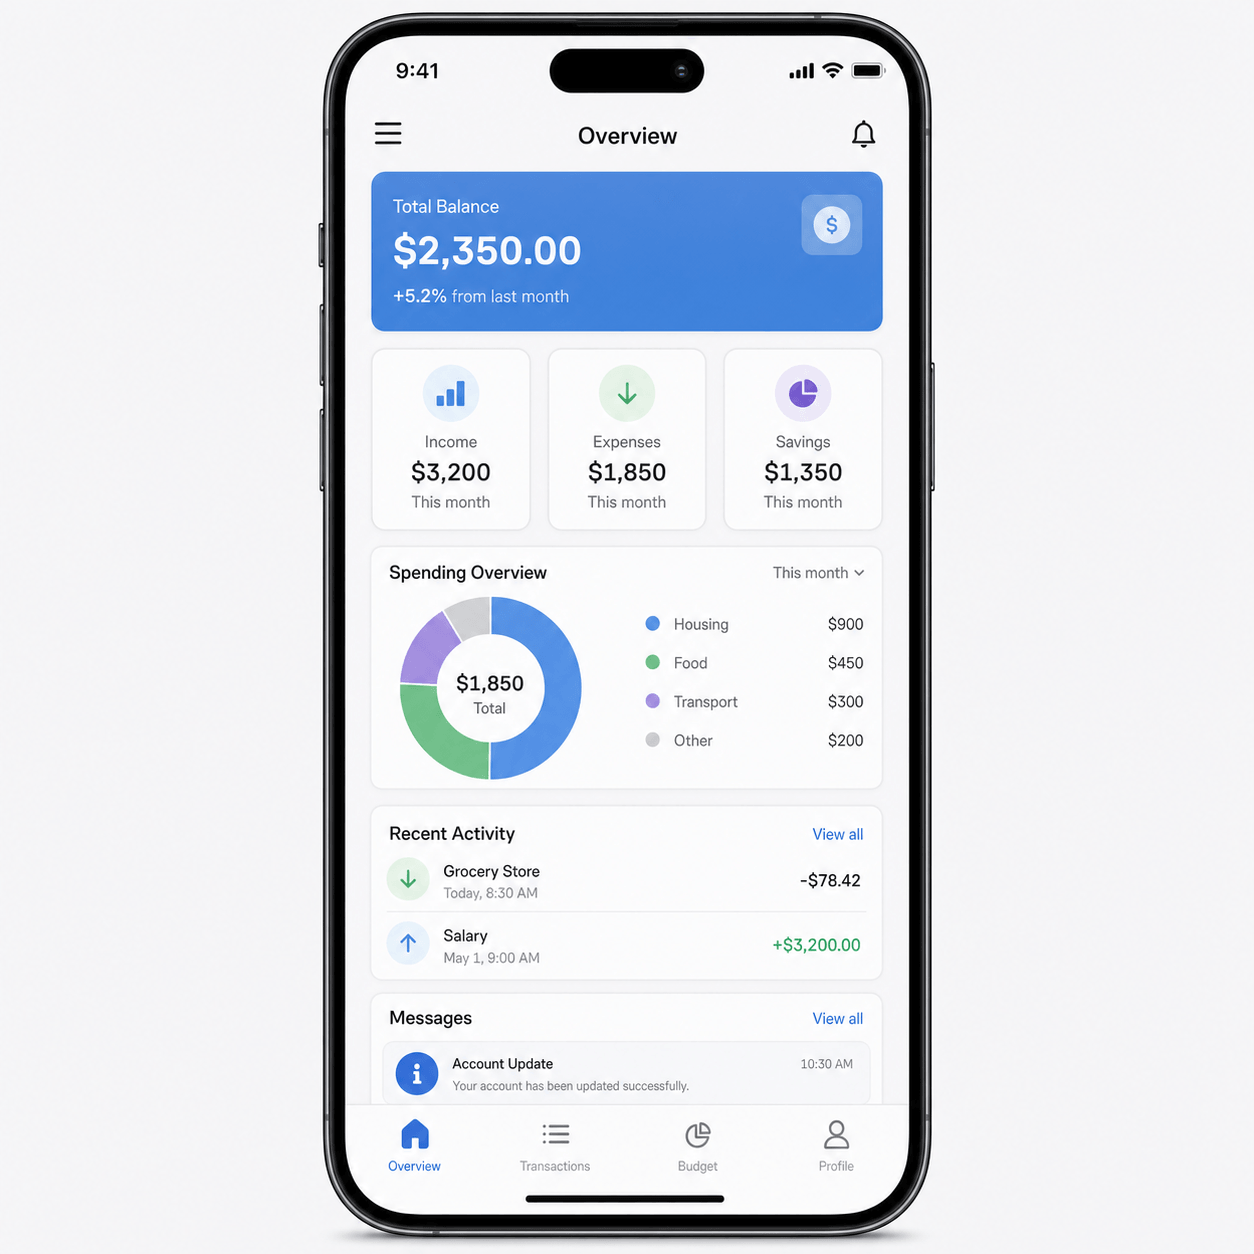 Clean text
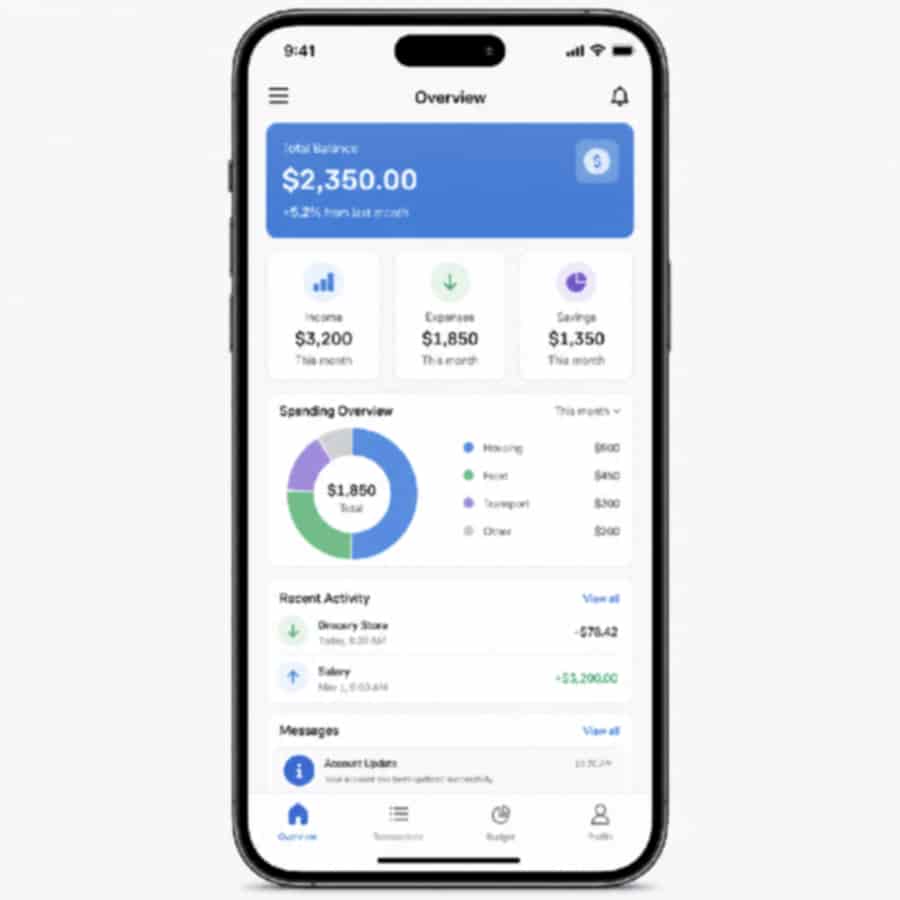 Light artifacts
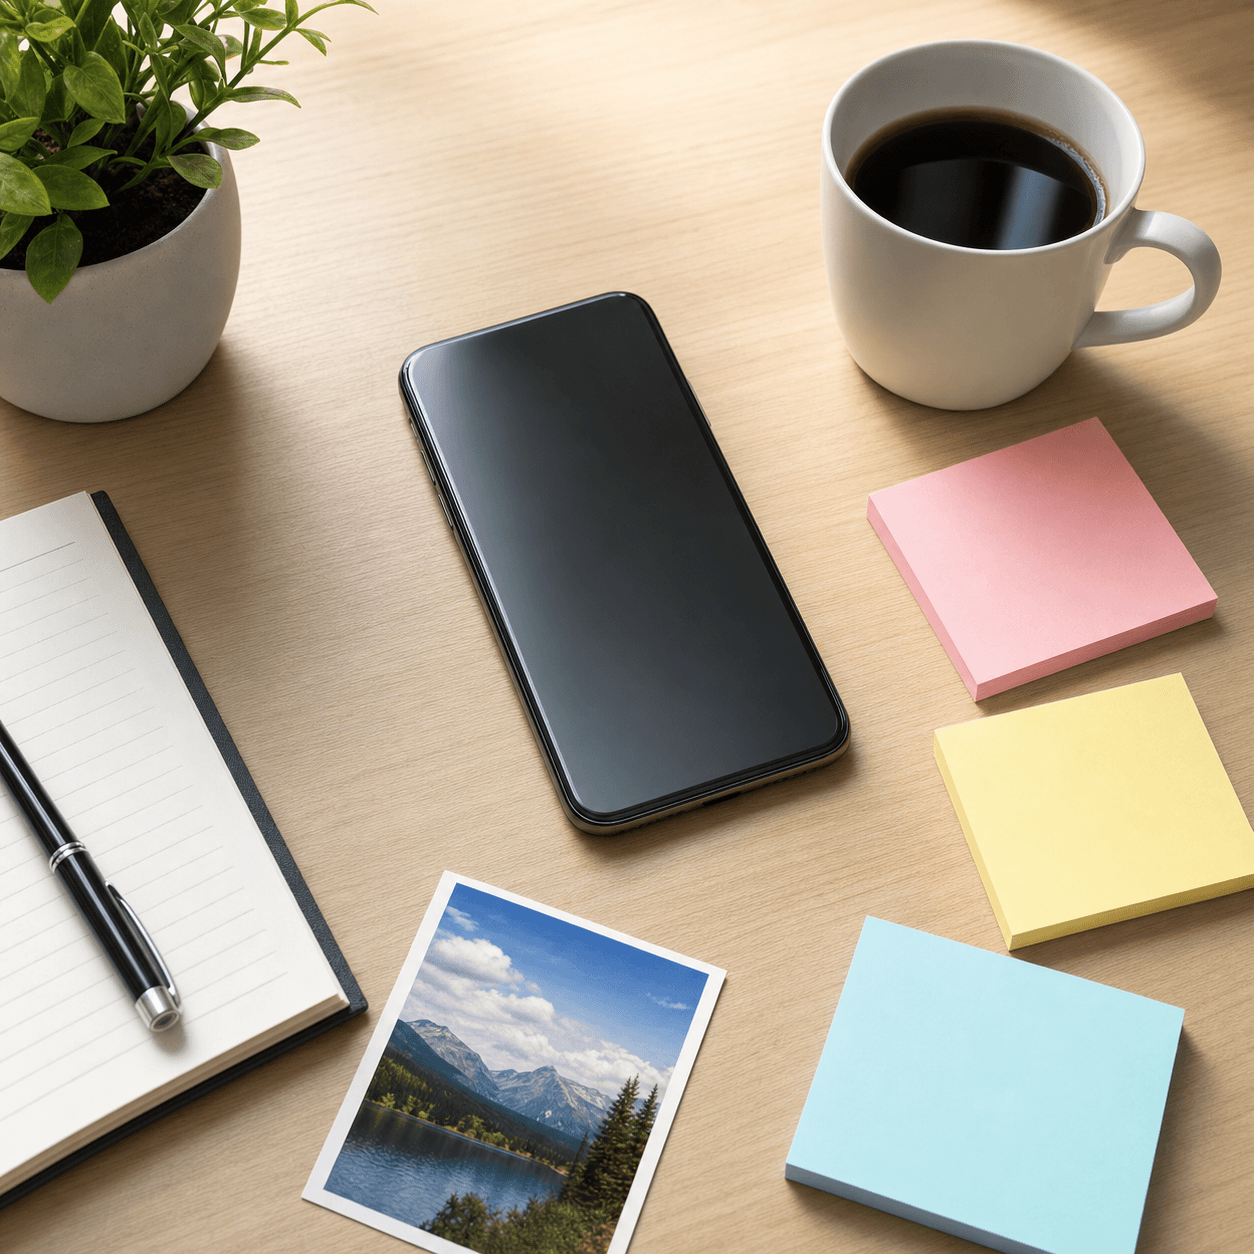 Modern image
 Compressed copy
Answers for this specific image-quality effect.
Use JPEG quality around 30 to 45, keep pixel size under 6, and use blur 1 or 2. This keeps the image visibly degraded without destroying the main subject.
Start with JPEG quality first, then add a little blur. Add pixelation only if the image still looks too clean.
Yes. The tool processes the preview and JPG download directly in your browser.
Start with the mild bad preset on this page. It is tuned for practical low-quality results instead of deep-fried meme effects.
For a natural low-quality photo, start around 30 to 45. Go lower only when you want stronger compression blocks or a more copied-looking image.
Yes. Keep blur low, use moderate JPEG quality, and avoid large pixel size values so screenshot text stays readable while still looking degraded.
Use these pages for adjacent bad-quality image styles.