
Five separate looks
Lower quality compresses the file. Blurry softens edges. Pixelated makes square blocks. Shared many times imitates a forwarded chat image. Deep fried overcooks color, contrast, and noise.
Quick answer: To make a low quality picture, upload it, choose Lower quality, Pixelated, Blurry, or Shared many times, raise Strength until the change is visible, then download the JPG. Open More image controls only if one part of the result is still wrong.
Use this low quality image maker for pictures and photos that need a rougher copy. Choose a look, set the strength, and download a JPG when the subject is still readable.
The default look is Lower quality: visible compression without a meme treatment. This low quality picture maker also includes Blurry, Pixelated, Shared many times, and Deep fried looks for different kinds of damage.
Each look changes a different part of the image. Strength sets how far that change goes.
Lower quality compresses the file. Blurry softens edges. Pixelated makes square blocks. Shared many times imitates a forwarded chat image. Deep fried overcooks color, contrast, and noise.
Most pictures only need the strength slider. Open JPEG quality, output scale, pixels, blur, and noise when one leftover problem remains: missing detail, unreadable text, or a file that got larger.
Lower JPEG quality removes detail from the export, while Output scale reduces the picture's dimensions. Pixel size adds visible blocks, so you can choose the kind of low-quality result instead of pushing one control too far.
The original and the result stay next to each other, with file size under each image. Use that to stop before the face, caption, or product disappears.
The image is processed in the browser. There is no account, no watermark, and no upload to a processing server.
Use this page when the goal is a visible low-quality look, not a clean smaller file or a full edit.
A compressor hides artifacts to keep the photo looking good. This page shows compression, pixels, blur, and noise on purpose. For a smaller clean upload, use Reduce Image Size KB.
Photoshop can build the same damage with save-for-web, blur, mosaic, and noise. This page starts from the finished look, which is faster when you only need one rough image.
You pick Shared many times or Pixelated before touching numbers. Open the detailed controls only after the named look is close.
Match the job to a look, then raise strength in small steps. The same low quality picture maker works for photos, screenshots, avatars, and memes.
Make a polished photo look older, cheaper, or repeatedly saved without losing the main subject. Start with compression before adding stronger effects.
A sharp export often looks too clean for a joke. The post works when the damage is visible and the face or punchline is still readable.
A fresh screenshot looks official. Compression and light noise make it feel forwarded. Blur is the fastest way to destroy the text.
A studio-clean avatar can look out of place. The face still has to survive at a small size, so this is not a job for maximum pixelation.
Mild compression can make a photo feel older or more ordinary. If it looks broken rather than casual, the strength is too high.
This page can shrink a file, but the photo will look worse. For a clean file under a KB limit, use the KB tool first.
When the over-processing is the joke, normal compression is not enough. Deep fried pushes saturation, contrast, and noise until the image looks repeatedly edited.
Pick the result you can already picture, then move strength. Use the lightest effect that creates the look you want, and do not mix every look at once.
Everyday compression. The photo looks cheaper and slightly blocky, not like a filter.
Start with: Strength 50-70 on photos.
Watch for: If nothing changes, the source is already compressed. Switch to Shared many times.
Soft edges and lost fine detail. Use it for an out-of-focus look, not for screenshots or captions.
Start with: Strength 40-60.
Watch for: Faces and text go first. If the image has words, pick another look.
Visible squares. Useful for avatars, retro graphics, and images where the blocks are the point.
Start with: Strength 55-75 on simple images; lower on portraits.
Watch for: If squares cover the eyes or logo, drop strength or reduce pixel size.
The forwarded-chat texture: compression, light noise, and a copy that looks saved and resent.
Start with: Strength 60-80.
Watch for: If the image turns muddy instead of copied, you need less blur and more compression.
Harsh color, contrast, noise, and compression. Use it when the overcooked look is the joke.
Start with: Strength 75-90 on simple reaction images.
Watch for: Small captions disappear. Add text after export if the words matter.
See the difference between a clean image and a rougher result before uploading your own.
 Clean meme
 Chat repost
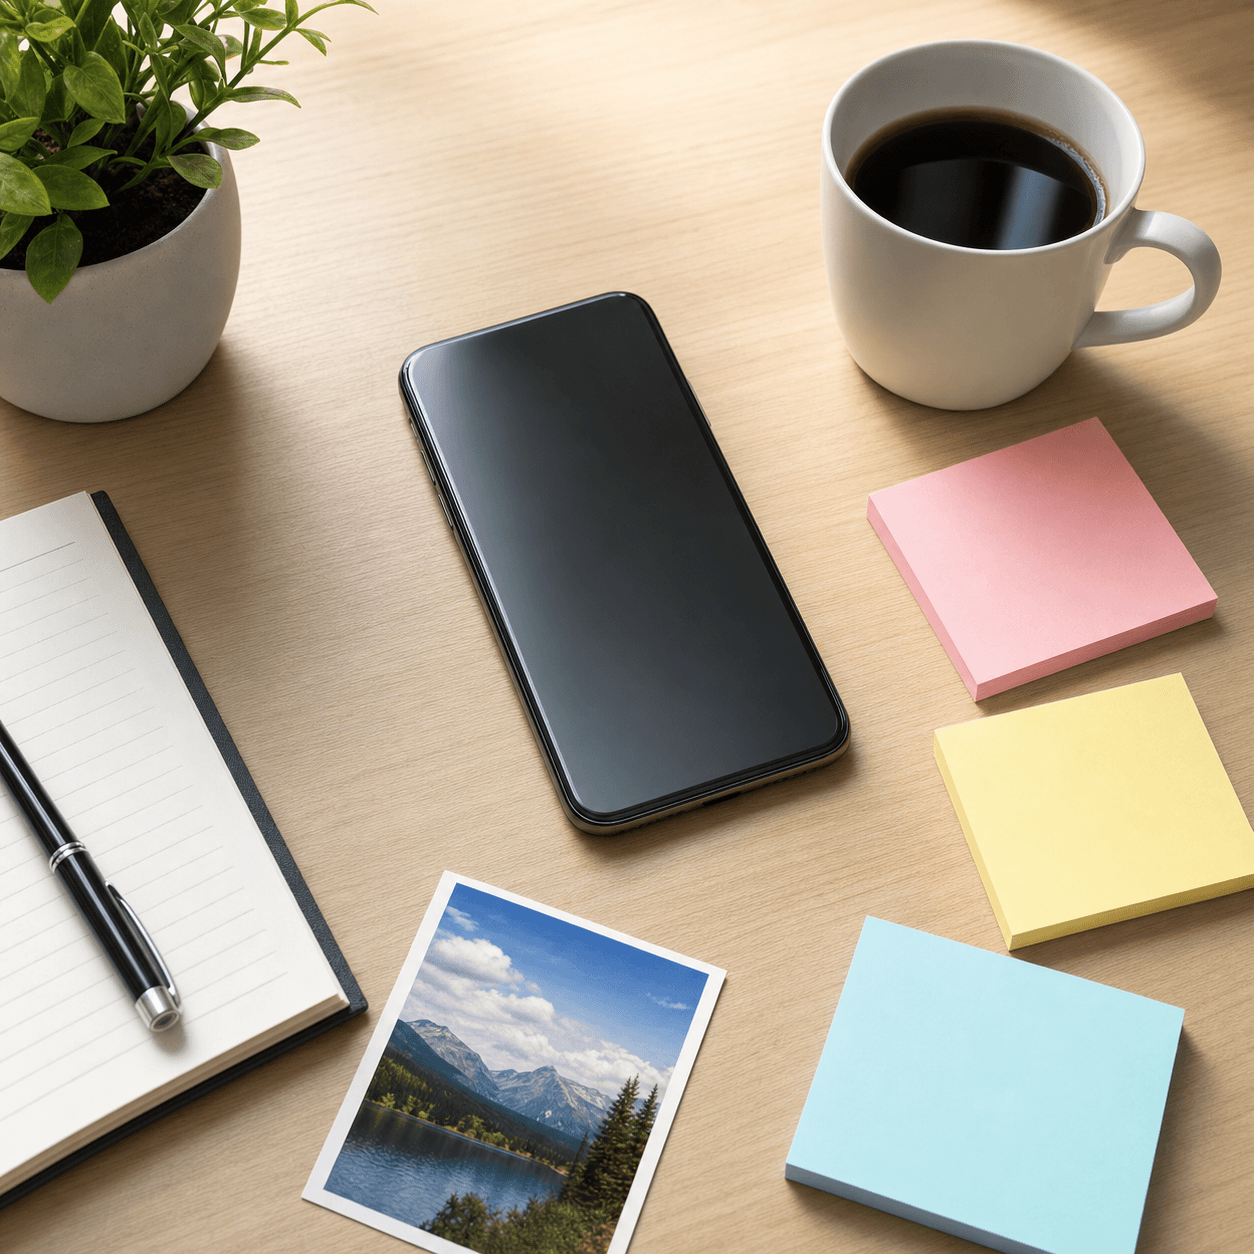 Sharp avatar
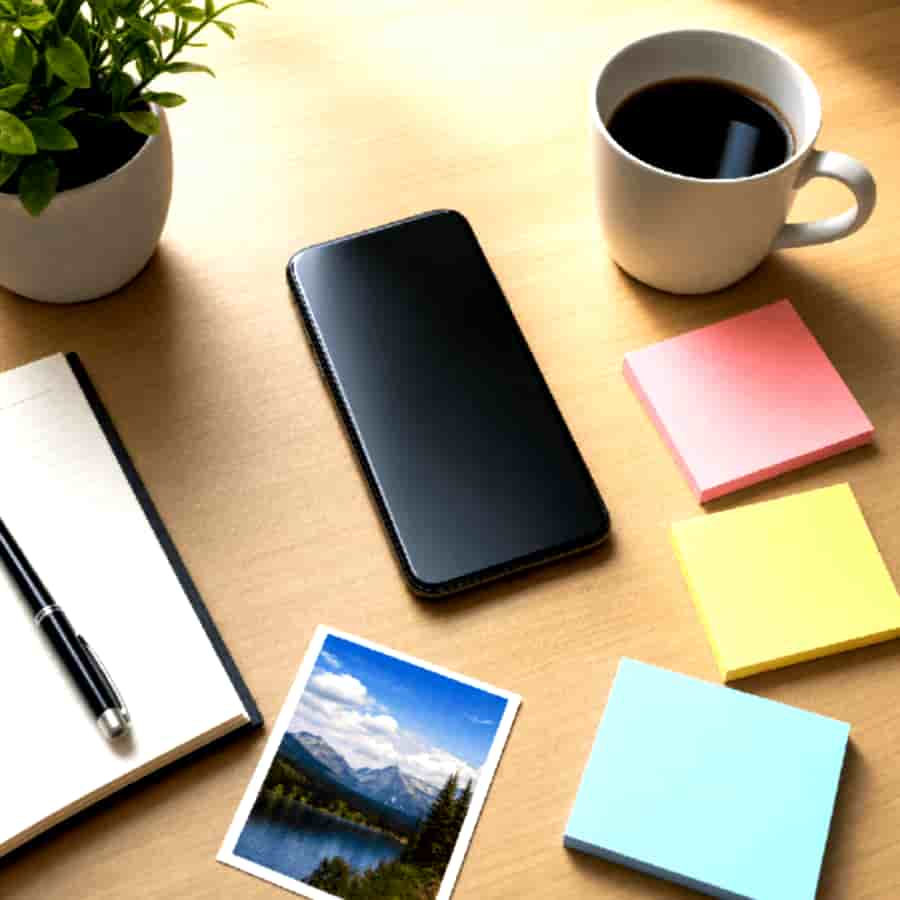 Bad profile pic
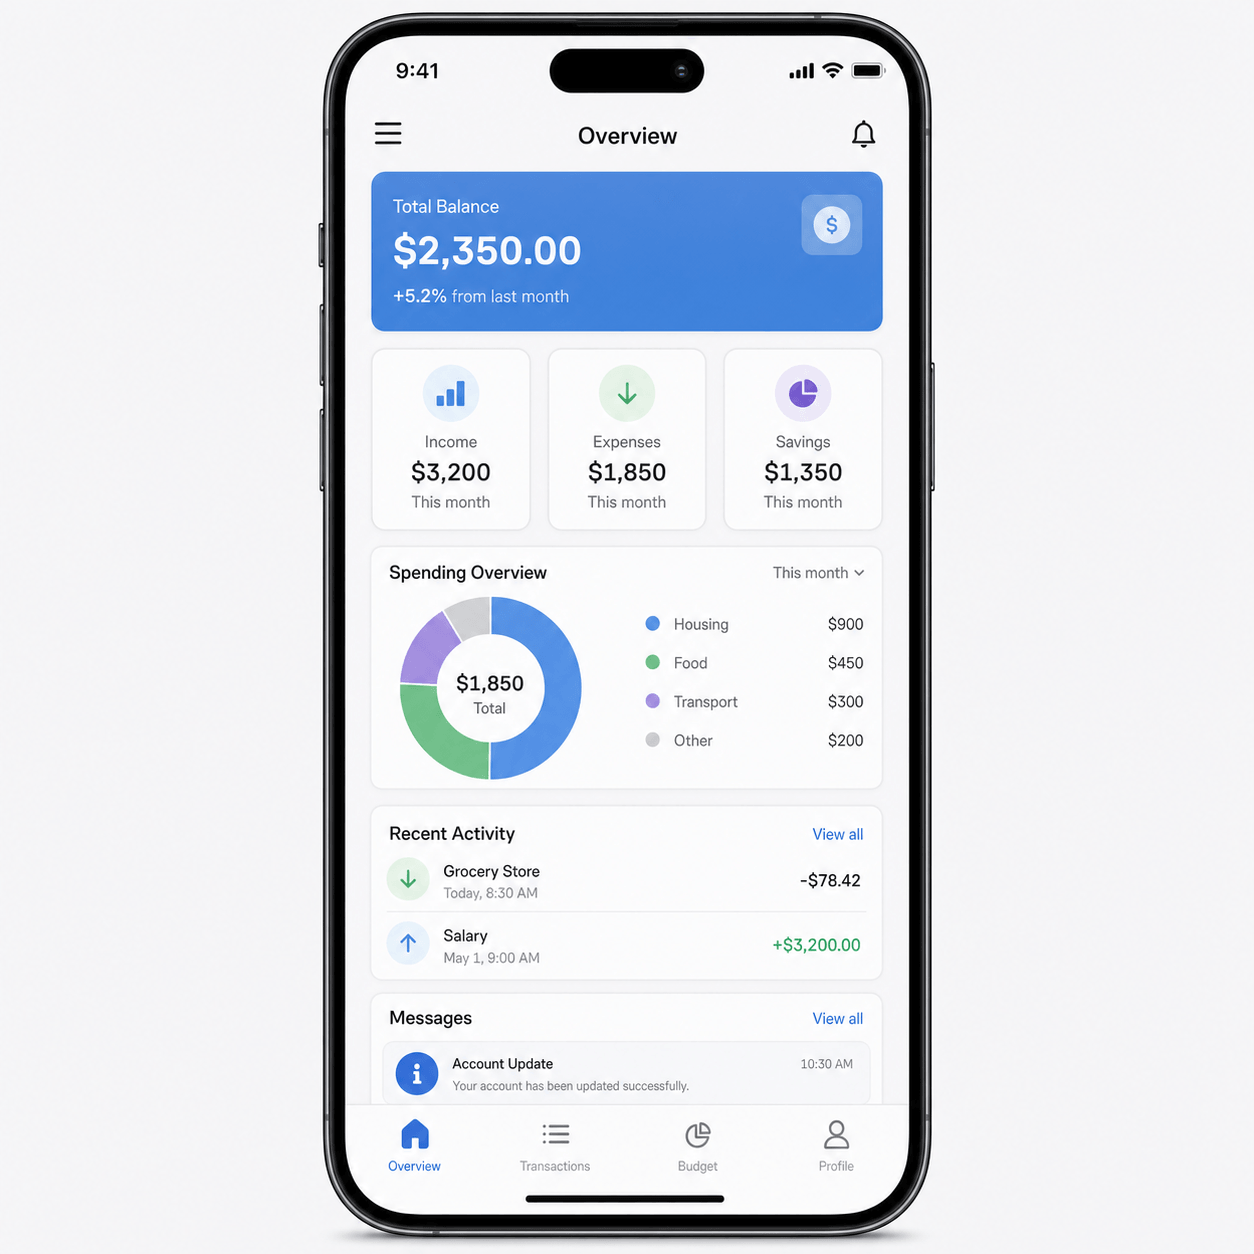 Clean screenshot
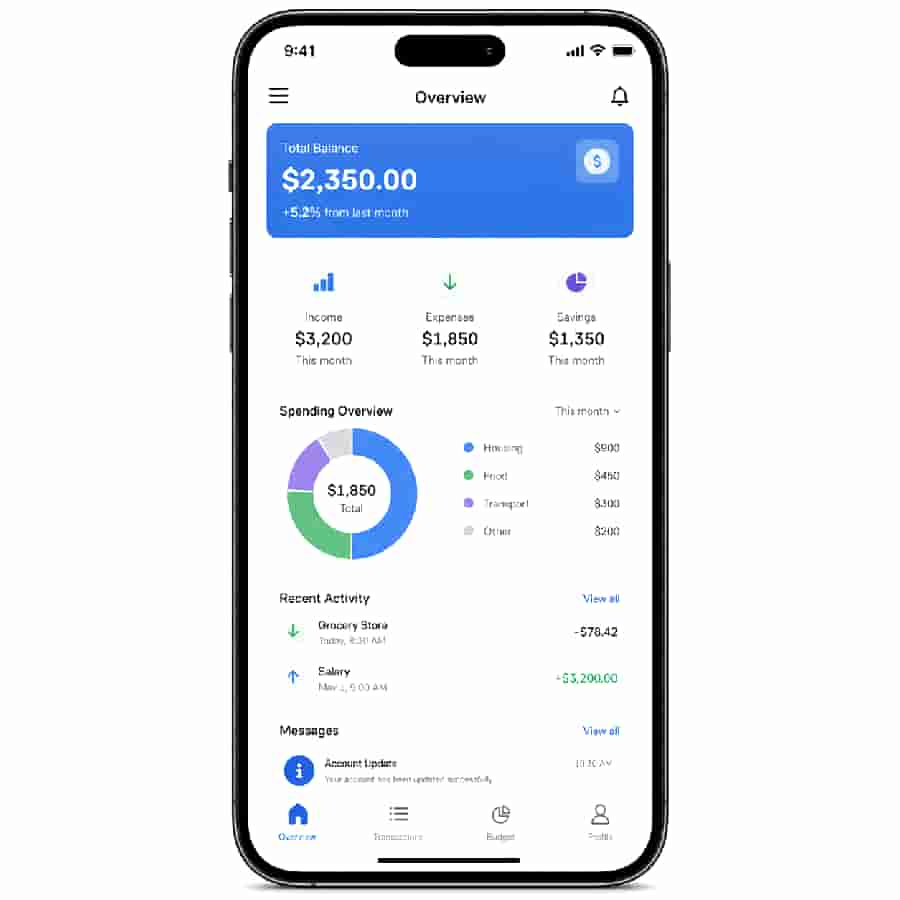 Noisy copy
Most bad results come from too much strength or the wrong look. Fix the leftover problem instead of maxing every slider.
Lower strength first. If the look is Pixelated or Deep fried, switch to Lower quality or Shared many times and bring the subject back before adding damage again.
Blur destroys small type. Use Shared many times or Lower quality, keep strength moderate, and set blur to 0 if you open more controls.
Noise and high contrast add detail JPEG has to store. Lower output scale and JPEG quality first, then add noise last. Check the KB numbers under the preview.
Deep fried and strong Pixelated are loud on purpose. Switch to Lower quality and keep strength under 70.
Raise strength in small steps, or switch from Lower quality to Shared many times. Already-compressed screenshots show the forwarded look sooner.
Keep the current look and change only the leftover setting: pixel size, blur, JPEG quality, or output scale. Change one control and check the preview.
Each tool below focuses on a different part of the image quality workflow.
Answers for this specific image-quality effect.
Upload the picture, choose Lower quality for compression, Pixelated for visible blocks, Blurry for soft edges, or Shared many times for a forwarded look. Move Strength until the damage is visible, then download the JPG.
Upload a JPG, PNG, or WebP photo, start with Lower quality, and raise Strength until it looks rougher but the subject is still clear. You can add pixels, blur, or noise for a stronger low-quality photo effect.
Lowering JPEG quality keeps similar dimensions but removes image detail and adds compression artifacts. Lowering resolution or Output scale makes the picture physically smaller. Use JPEG quality for a rougher export and Output scale when the dimensions or file size need to drop.
Yes. The tool works in a modern mobile browser. Upload the picture, choose a look, compare the preview, and download the JPG without installing an app or creating an account.
To make an image low quality without turning it into a meme, start with Lower quality. Use Shared many times for a forwarded screenshot or reaction image. Use Pixelated for visible squares, Blurry only when soft edges are the point, and Deep fried when the overcooked look is the joke.
Move it until the damage is obvious, then stop while the subject is still clear. For photos and avatars that is often around 50-70. For memes and forwarded screenshots, 60-85 is more common. If the face or caption disappears, go back.
Blur and large pixel size destroy small type first. Use Shared many times or Lower quality, keep strength moderate, and leave Blurry alone. If you open more controls, set blur to 0.
No. A compressor tries to keep the image looking good while shrinking the file. This page makes the image look worse on purpose. If you only need a smaller clean upload, use Reduce Image Size KB.
No. Heavy noise and contrast can make a JPG larger because the file has more detail to store. Check the original and result sizes under the preview. To shrink the file, lower output scale and JPEG quality before adding noise.
Only after the named look is close. Use those sliders for one leftover problem: JPEG quality for compression, output scale for file size, pixel size for blocks, blur for softness, or noise for grit. Do not move all of them at once.
Yes, but keep the face recognizable at a small size. Lower quality or mild Pixelated works better than Deep fried. Strength around 50-70 is usually enough.
No. The preview and JPG are created in the browser. There is no signup and no watermark. Close the tab and the file is gone from the tool.
Raise strength in small steps, or switch from Lower quality to Shared many times. Already-compressed screenshots and memes often need the forwarded look before the damage becomes obvious.
If the words are the joke, export the damaged image first and add the caption afterward. Deep fried and strong pixelation will chew through small text.